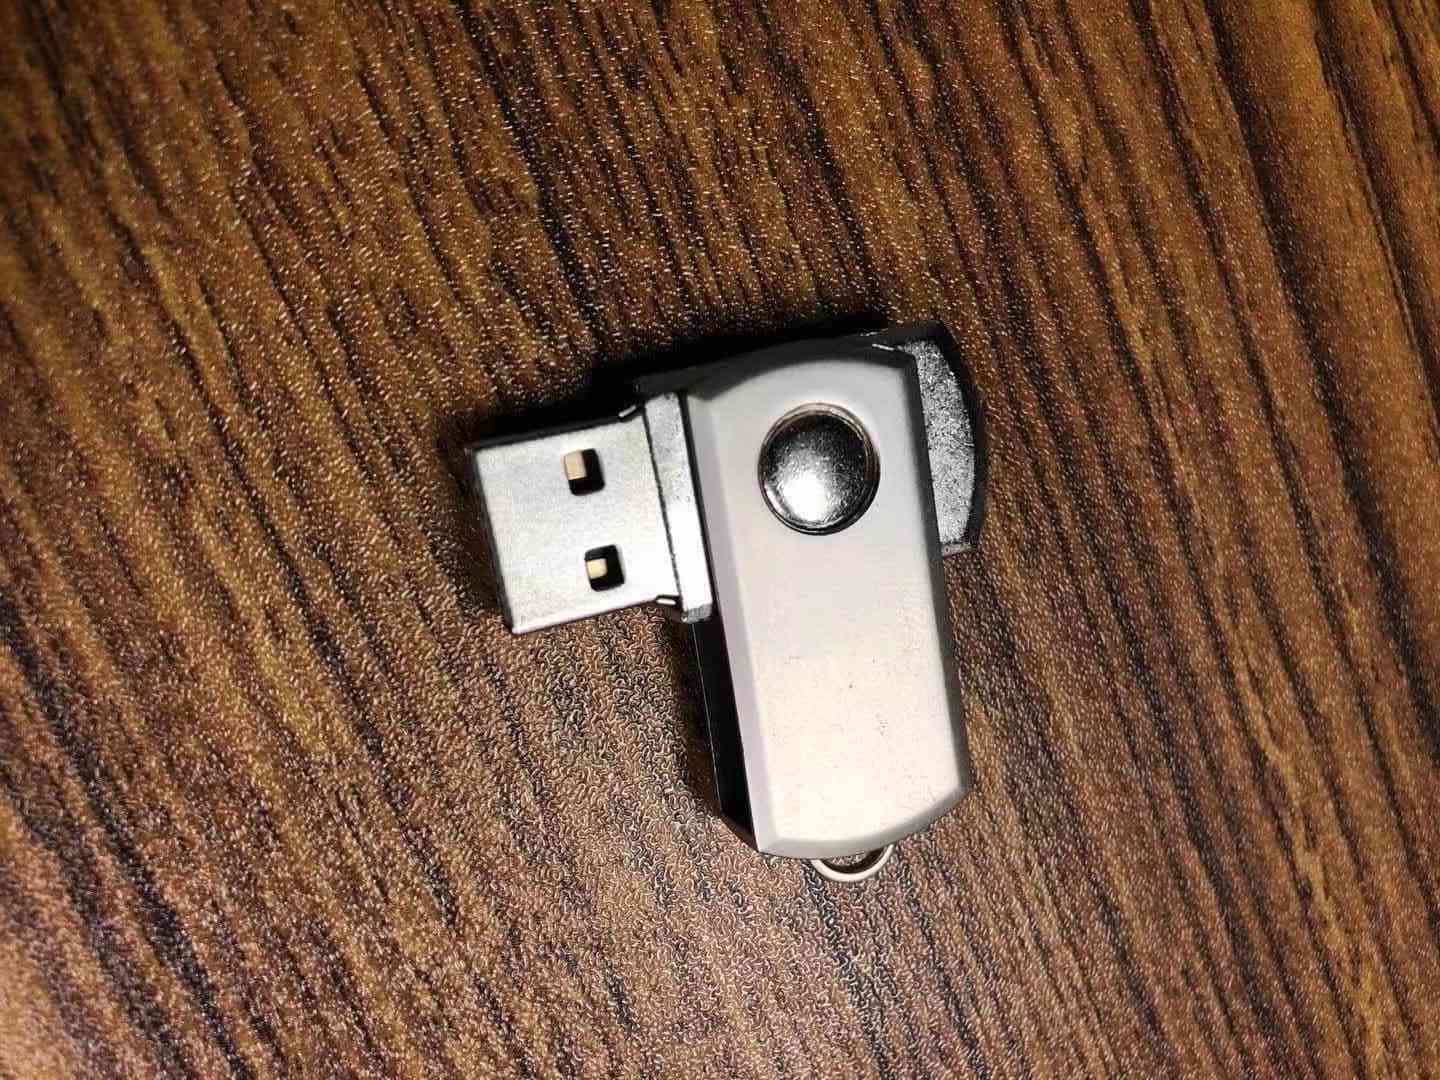
To perform a badusb attack, you need to have a tiny Development board to write your payload on it. The Arduino development board is a good choice.
Then you should make the development board execute your own payload, there are some Github repositories to get the payloads, like https://github.com/Screetsec/Pateensy for Teensy board and https://github.com/recursively/BadUSB-code for Arduino Leonardo.
It’s hard to tell the difference between the Arduino Leonardo board and the normal USB flash disk.

By the way, The badusb acts like a keyboard, you can download the meterpreter payload or something else from your personal server and execute it automatically with PowerShell.
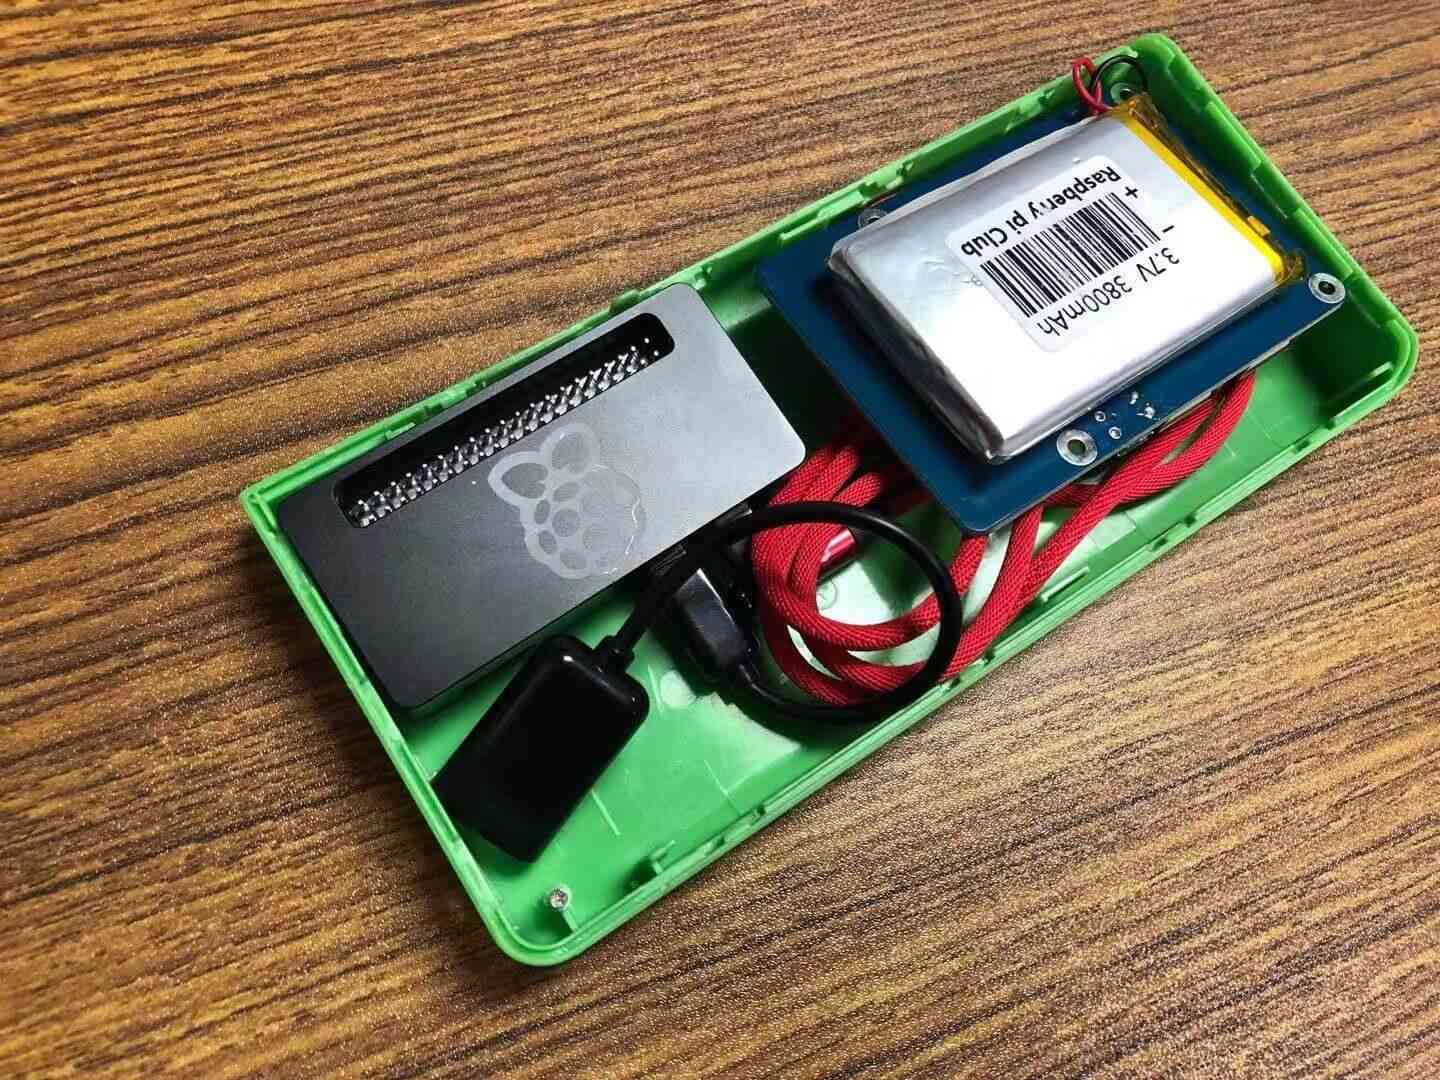
Or you want to pull some data from or to push some virus to someone’s telephone with just a powerbank. The easiest way is to use the Raspberry Pi Zero.
To get started, burn a fresh image of Raspbian distribution to a micro SD card on your desktop with software like SD Card Formatter or something else.
Once that’s finished, navigate to the root directory of the micro SD card and open the file config.txt. Scroll down to the bottom of the file and add dtoverlay=dwc2 to a new line.

Save and exit the config.txt file.
Then open the cmdline.txt file, find the command rootwait and add modules-load=dwc2,g_ether after it.

Save and exit the cmdline.txt file.
Then insert your SD card into your Raspberry Pi Zero, connect the USB port between your computer and your Pi Zero.
If you are using MacOS, it will be much easier to connect to the SSH service on your Pi Zero. You can find the new network device in the network settings.

After that, you can just use address raspberrypi.local to log in to your Pi.
1 | ssh pi@raspberrypi.local |
Install the ADB tools on your Raspberry Pi. You can learn about more details of ADB tools from https://developer.android.com/studio/command-line/adb.
1 | sudo apt update |
Making sure the adb tools work properly.
1 | adb devices |
You can see a list of available Android devices if everything goes well.
1 | List of devices attached |
Making sure your Pi is connected to the Wi-Fi network, so you can log in to your Pi wirelessly.
A portable power source is necessary.

The Android telephone can be debugged only when the developer mode is turned on and the USB debugging is allowed.
Here I wrote a piece of code to grab the photos from the target telephone.
1 | !/bin/bash |
When the telephone is plugged into the Pi, all the photos will be pulled from the target telephone.