Why Sonar
There are a lot of SAST tools on the market, such as Fortify, Coverity, Infer and so on. We choose Sonar because of its open-source(partially), convenient-to-deployed, customization-friendly properties.
About CI
For the CI system, we’re gonna talk about two platforms:
- Jenkins CI
- Gitlab CI
The Jenkis CI is a third-party CI system and Gitlab CI is originated from Gitlab on the contrary. The deployment experience on both platforms can be applied to other situations.
Trigger A Gitlab Pipeline Separatly
There are three steps to accomplish this:
- Set up Gitlab runner
- Register a runner for your project
- Create the .gitlab-ci.yml file in your project
Go to Settings > CI/CD and expand Runners to see if you have available runners. You could notice that there’s a token listed on the board, it will be used for the gitlab-runner configuration later. If no runners are listed on the page you must install Gitlab runner:
1 | sudo apt install gitlab-runner |
After that, you need to register a runner to perform your task:
1 | sudo gitlab-runner register |
You need to enter some information the runner requires to finish the registration:
- Enter your GitLab instance URL.
- Enter the token you obtained to register the runner.
- Enter a description for the runner. You can change this value later in the GitLab user interface.
- Enter the tags associated with the runner, separated by commas. You can change this value later in the GitLab user interface. Please note that if you don’t want your runner’s tags associated with the ones you defined in Gitlab, you can modify the configuration in the runner’s setting panel.

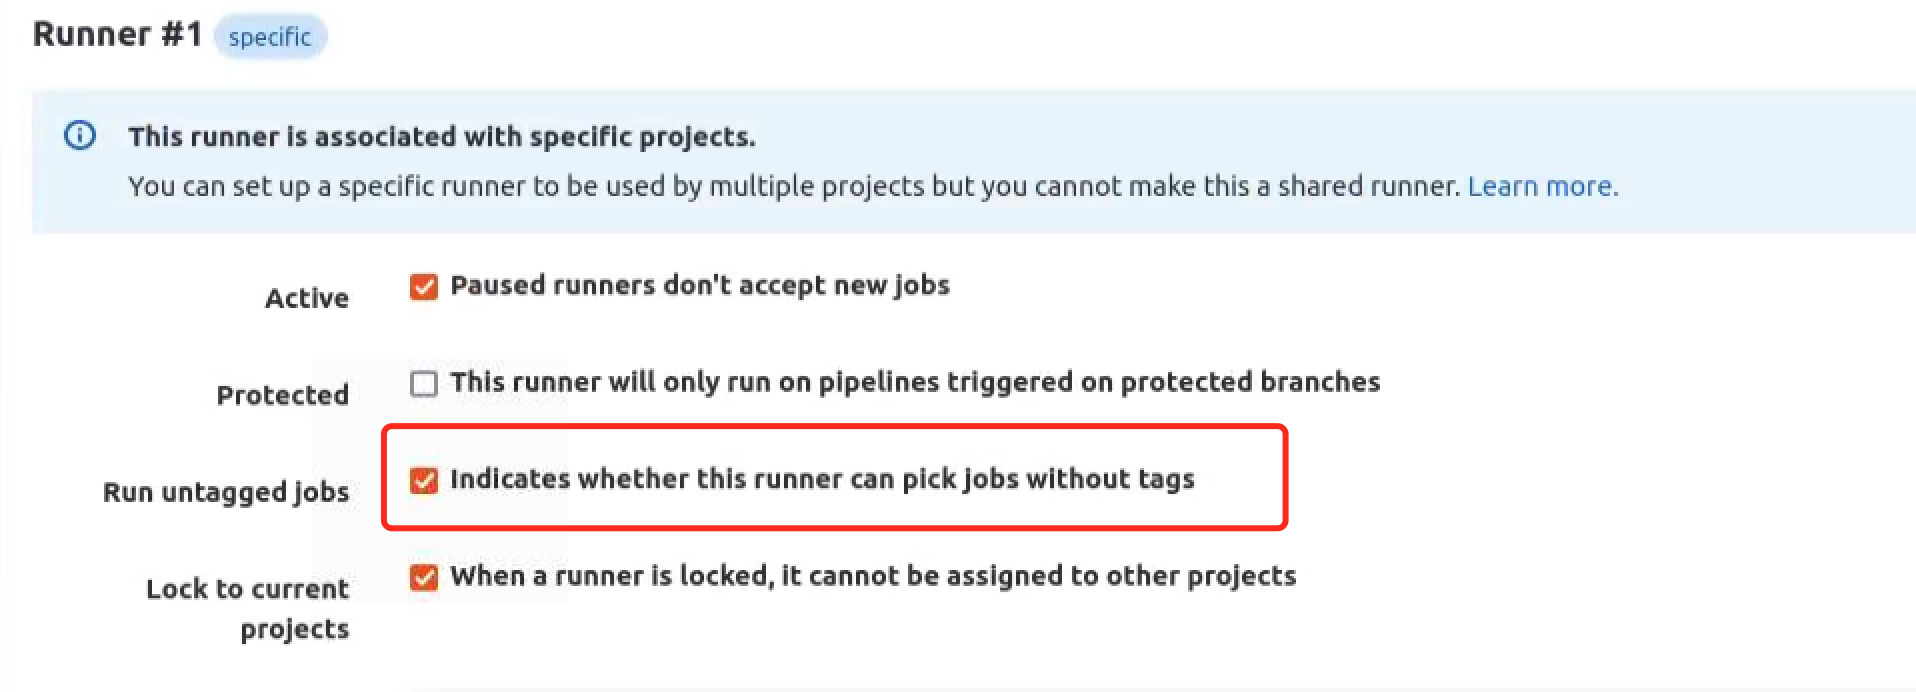
- Provide the runner executor. For most use cases, enter docker.
- If you entered docker as your executor, you’ll be asked for the default image to be used for projects that do not define one in .gitlab-ci.yml. If you don’t want the docker as the executor to pull images every time, you need to add the pull_policy parameter in the configuration file: /etc/gitlab-runner/config.toml
1
2
3
4
5
6
7
8
9
10
11
12
13
14
15
16
17
18
19
20
21
22
23
24
25
26
concurrent = 1
check_interval = 0
[session_server]
session_timeout = 1800
[[runners]]
name = "CI test project"
url = "http://172.20.1.135"
token = "Your project token"
executor = "docker"
[runners.custom_build_dir]
[runners.cache]
[runners.cache.s3]
[runners.cache.gcs]
[runners.cache.azure]
[runners.docker]
tls_verify = false
image = "ubuntu:latest"
privileged = false
disable_entrypoint_overwrite = false
oom_kill_disable = false
disable_cache = false
volumes = ["/cache"]
shm_size = 0
pull_policy = "if-not-present"
The last step is to create the .gitlab-ci.yml file which is used to trigger your Gitlab pipeline. In this file, you define:
- The structure and order of jobs that the runner should execute.
- The decisions the runner should make when specific conditions are encountered.
Now that most of the configuration is set up. Let’s have a try to trigger the Gitlab CI job by pushing our code to the remote repository.
Create two simple c files which has these vulnerable code:
1 | int main() |
1 | int main() |
1 | # Makefile |
Then add these content to the .gitlab-ci.yml file:
1 | build-job: |
You can definitely build your own images without installing packages every time, which will save a lot of building time. Now you can commit and push your project to the remote repository to trigger the CI pipeline job. You can get the build status after a while.

And you can also check the build details if you will:

Trigger A Jenkins Pipeline Separatly
The Jenkins pipeline task is mentioned in another post: https://recursively.review/2021/08/04/Sonar-Code-Quality-Gate-Integration-with-CI-Part-2/
Trigger A Sonar Scanning Task Separatly
Now it’s time to use Sonarqube to perform the code quality scanning. To accomplish that, we need to set up both Sonarqube and Sonar-scanner environment. First and foremost, create the Sonarqube server environment, it’s easily to do that with a docker image:
1 | docker run -d --name sonarqube -e SONAR_ES_BOOTSTRAP_CHECKS_DISABLE=true -p 9000:9000 sonarqube:latest |
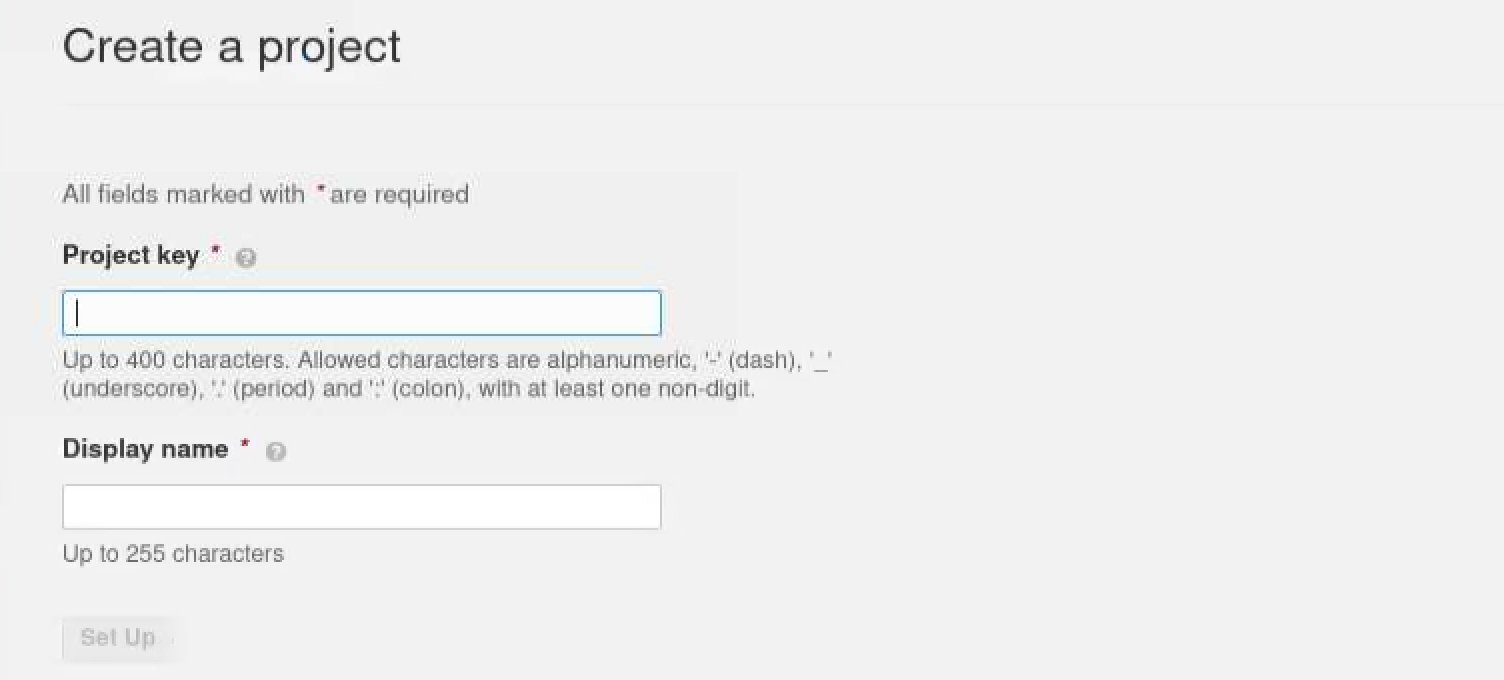
When it’s finished, you can access the Sonarqube web UI server through the browser. Let’s create a scanning project and fill in these blank area.

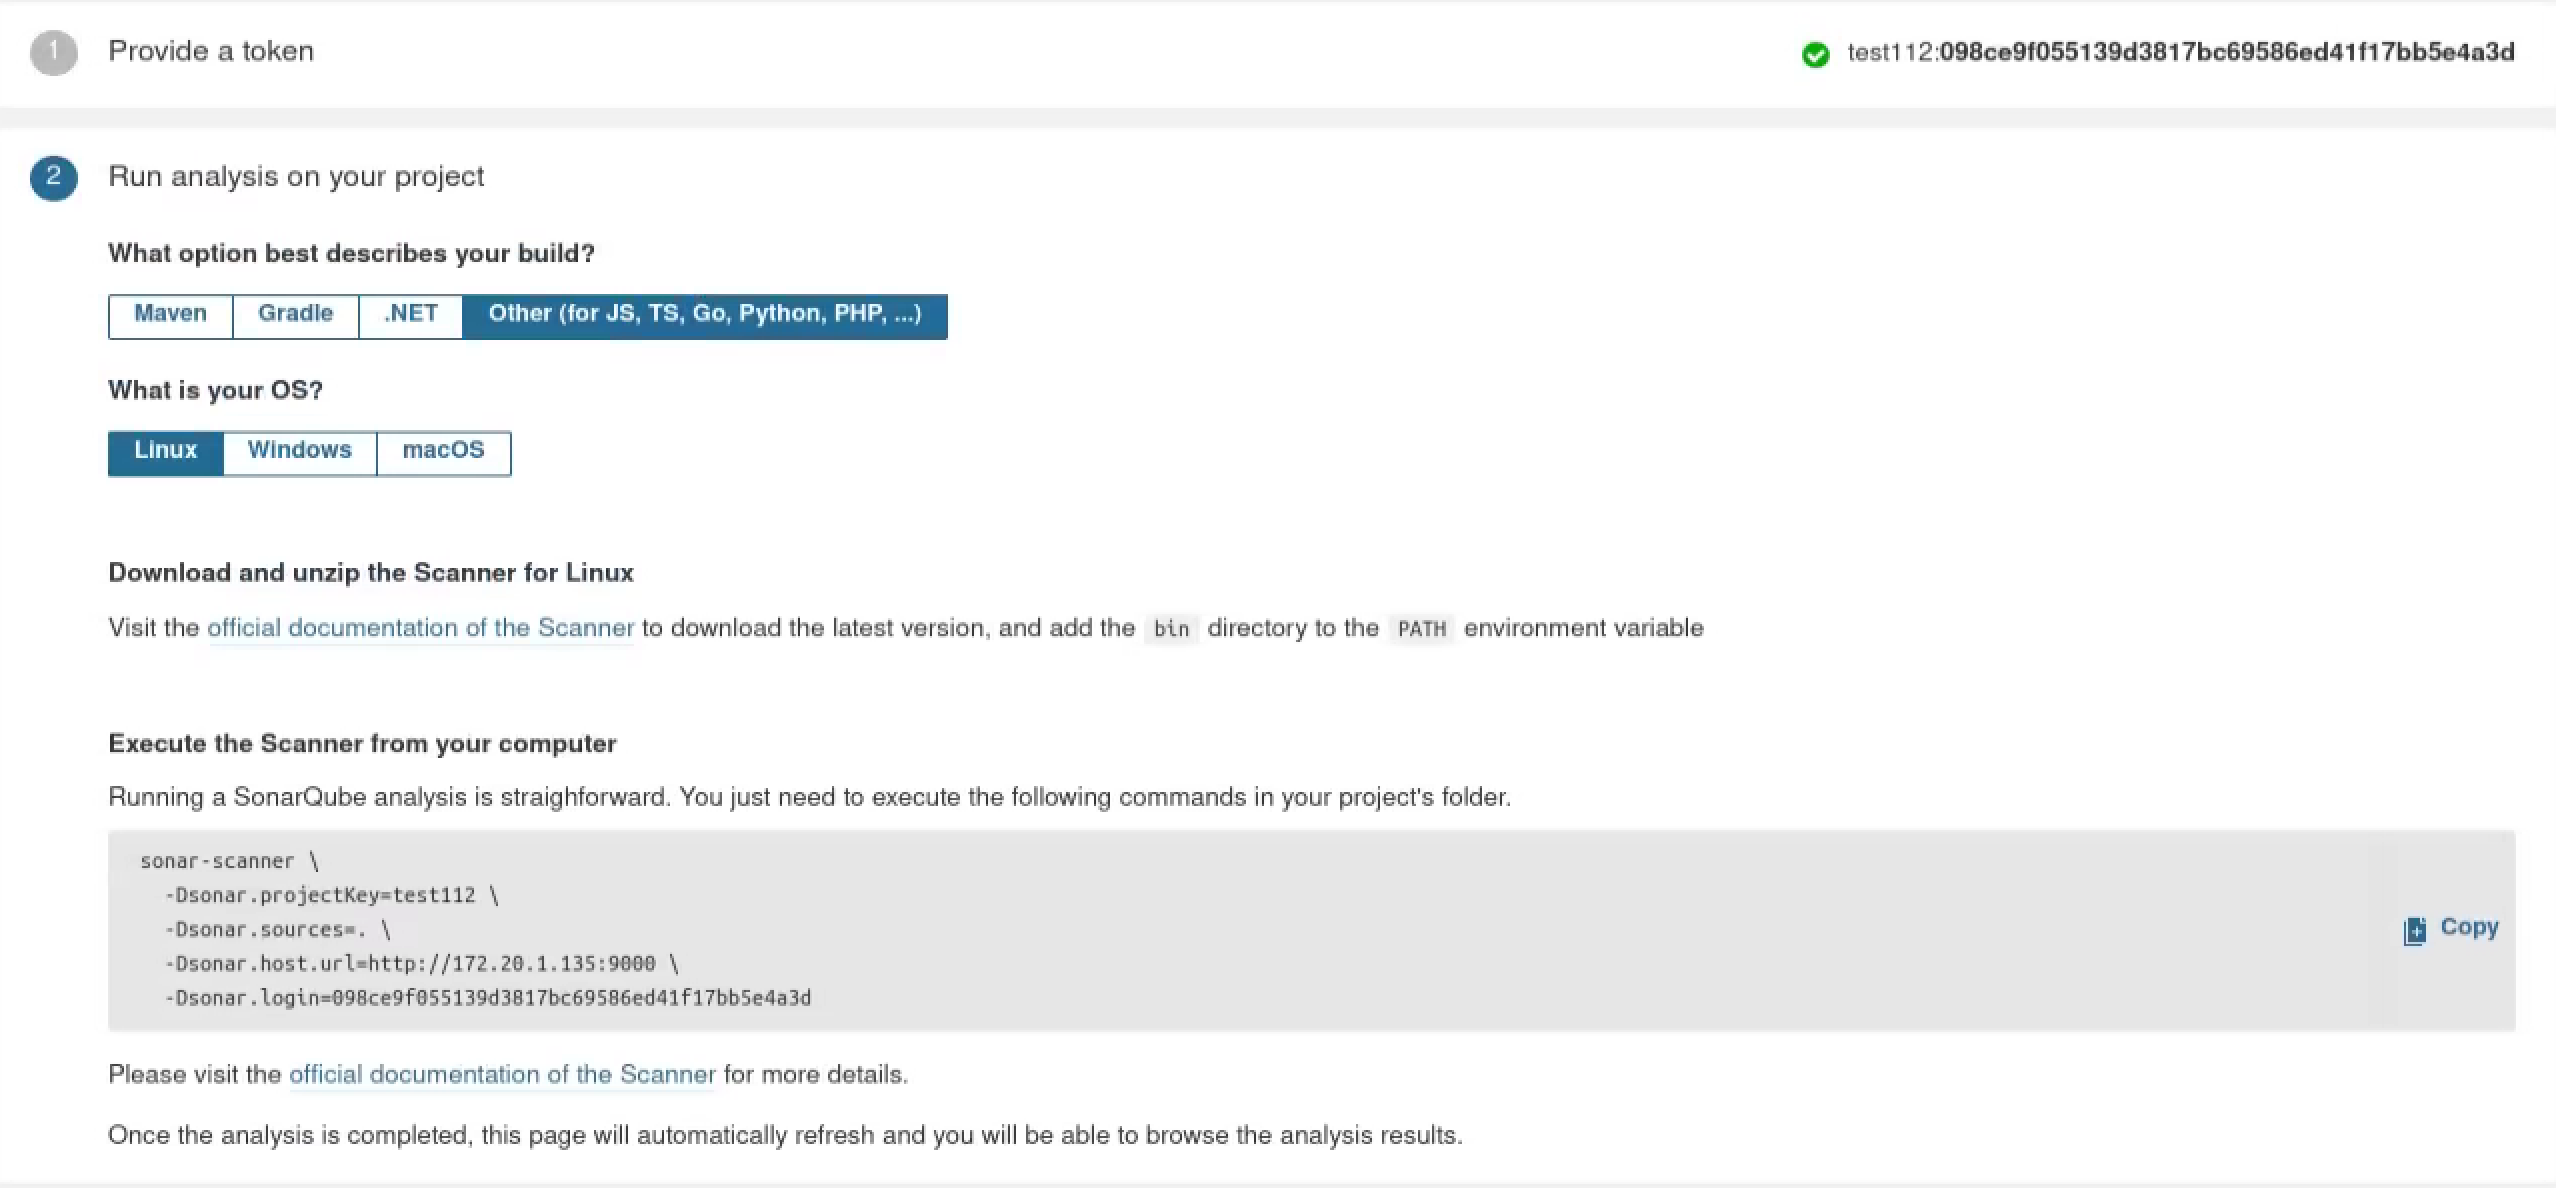
Since the community version of Sonarqube doesn’t support the scanning for C/C++ code, we have to install plugins to enable the C/C++ checking rule. Sonar-cxx(https://github.com/SonarOpenCommunity/sonar-cxx) is a nice tool which has many sensors for reading reports generated by other scanning tools such as cppcheck and infer.
Here we use cppcheck to find the flaws in our code:
1 | sudo apt install cppcheck |
Create a configuration file in your project’s root directory called sonar-project.properties, and add some configuration for cxx plugin:
1 | # must be unique in a given SonarQube instance |
Now we can start a Sonar-scanner job to perform our code scanning.
1 | sudo docker run \ |
If everything goes well, you can find that all the findings are listed on the Sonarqube project board.


Build Job & Sonar Scanner Combination
To perform both cppcheck and Sonarqube scanning, you need to modify your container to include both of the tools.
1 | sudo docker run -it --rm IMAGE_ID /bin/bash |
Install the cppcheck package in the container:
1 | bash-5.1# apk add cppcheck |
Commit your modified container from another terminal in order to perform the CI scanning task later:
1 | sudo docker commit CONTAINER_ID modified/sonar-scanner-cli |
Create the .gitlab-ci.yml and edit the configuration:
1 | build-job: |
Trigger the Gitlab CI pipeline and take a look at the status:
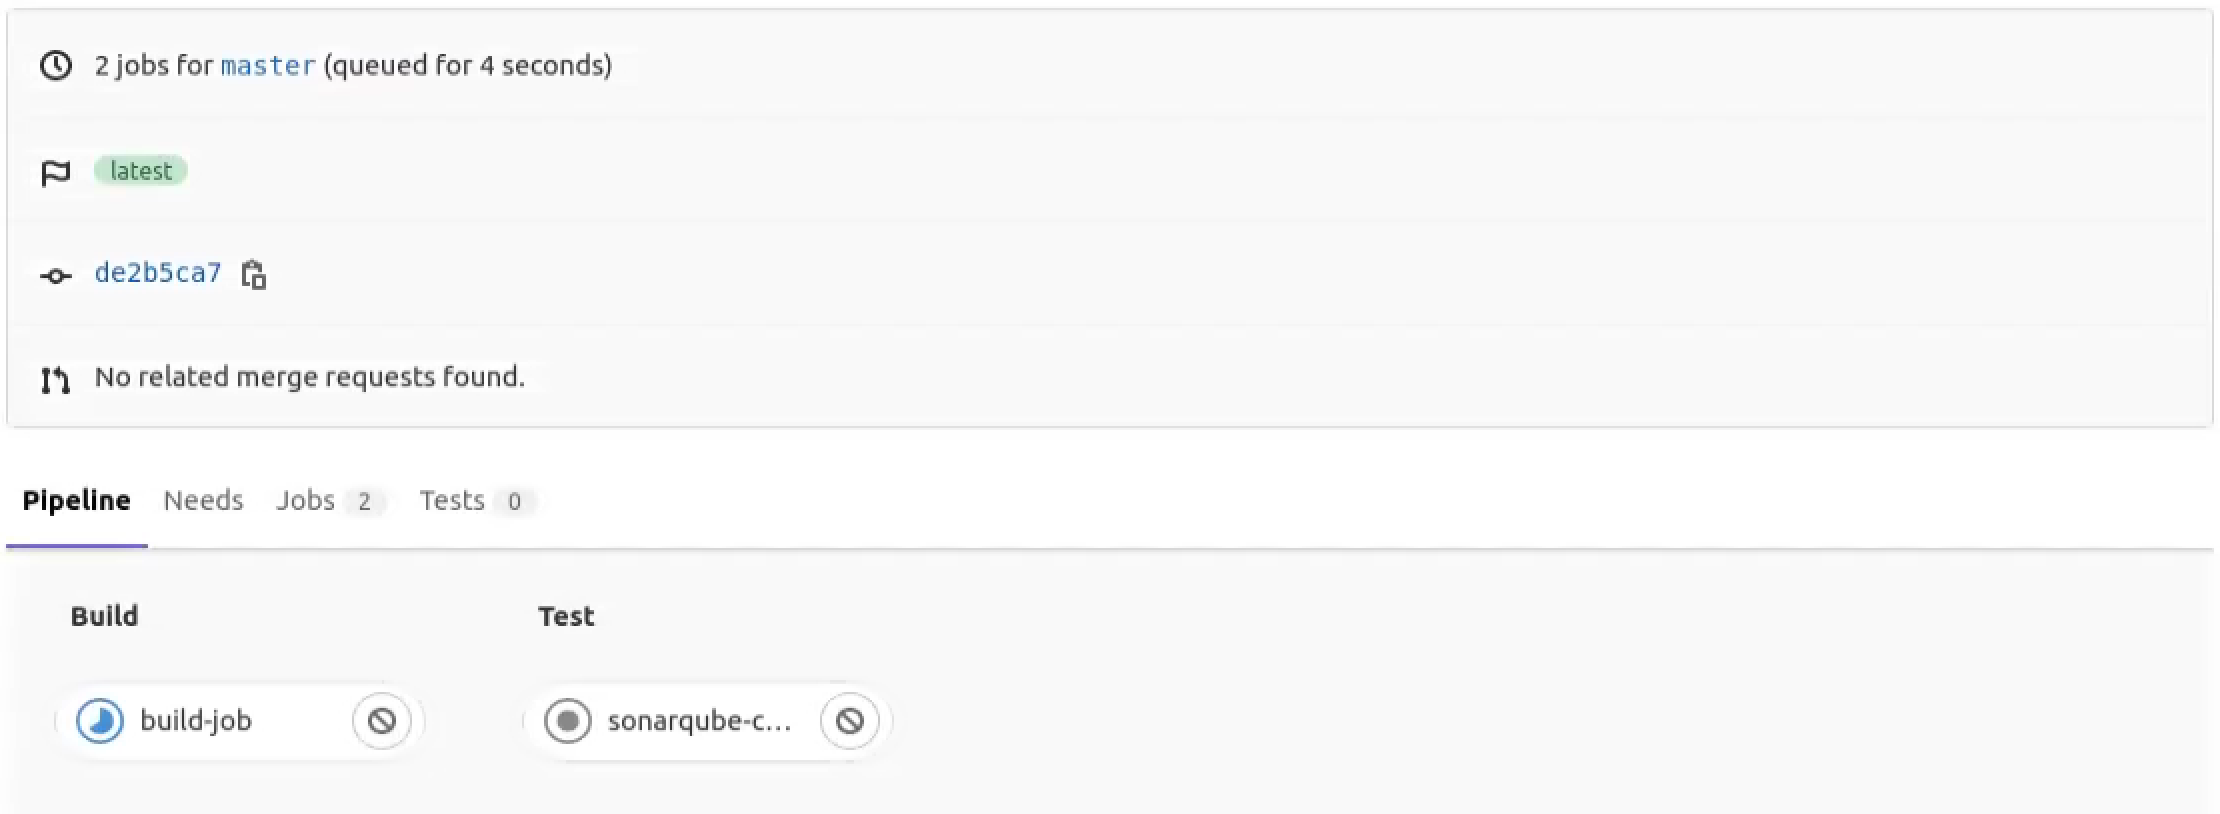
Furthermore, Sonarqube allows you to configure the quality gate conditions to decide what sort of code quality can pass the CI pipeline.
In this scenario, we’re gonna create the quality gate before the merge process, the merge request won’t succeed if the the status of the quality gate is failed. First of all, we need to choose the checkbox below to enable the merge check.
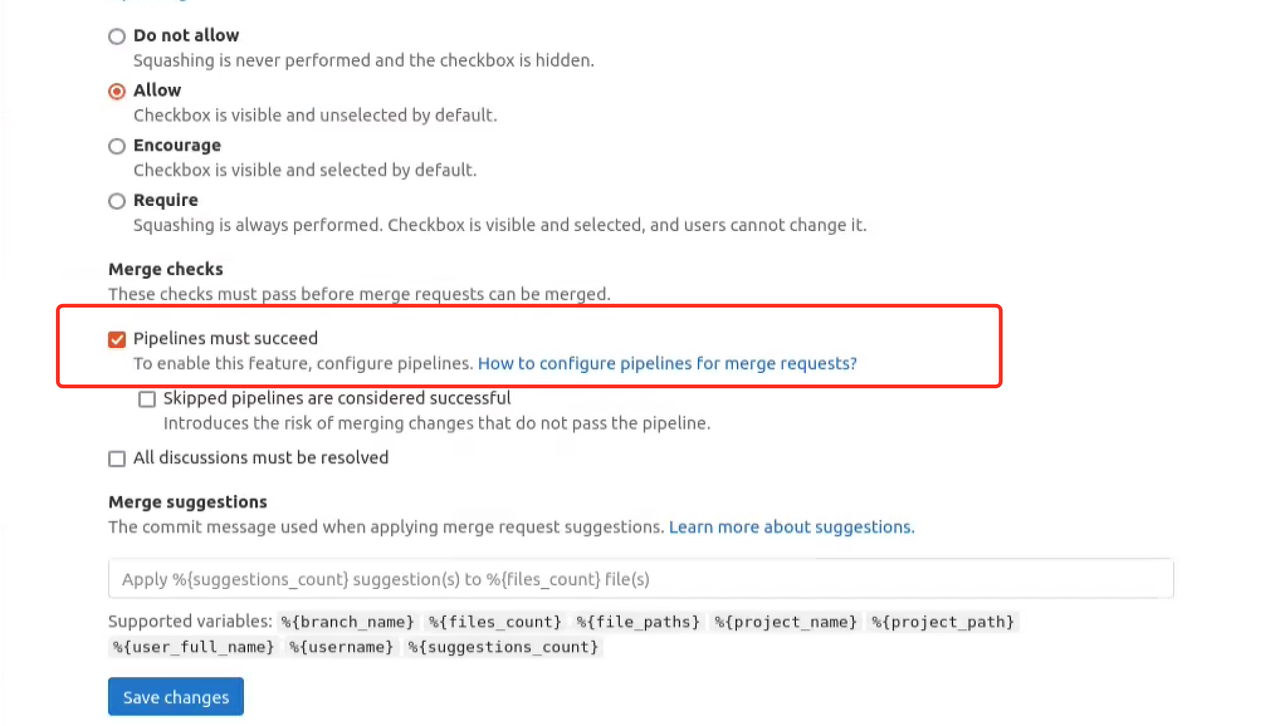
Create a new quelity gate and add a reliability rating condition which decides whether passing the merge or not.

Now create a new branch and try merging this new branch into master branch, the code owner will get a notification like this:
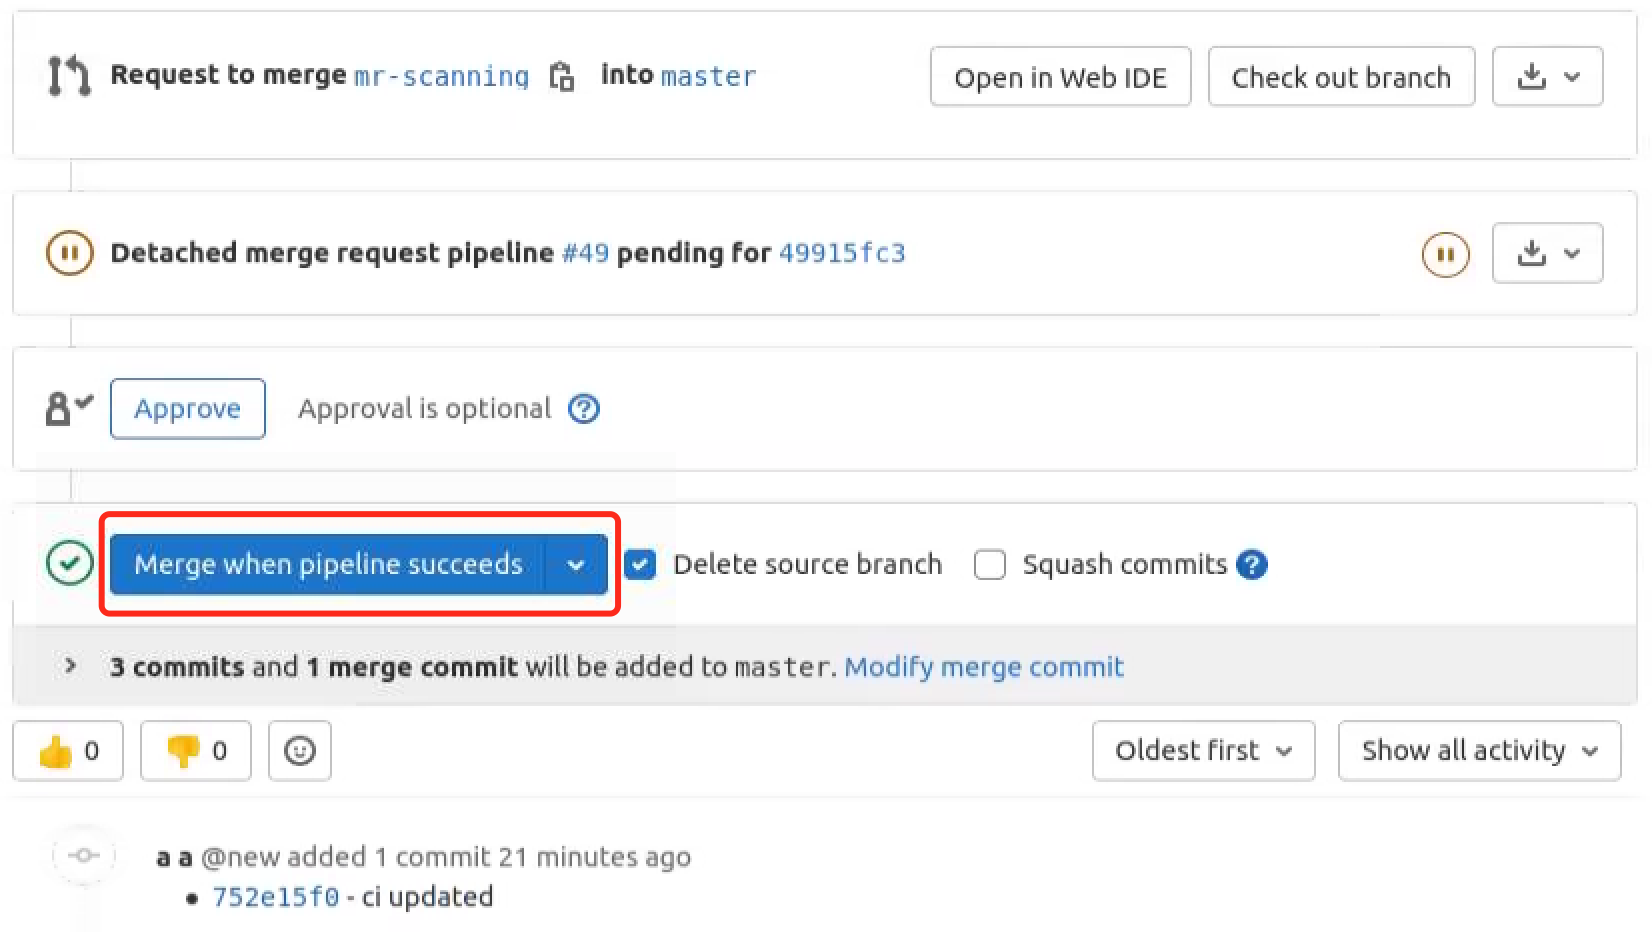
If the code scanning failed, the merge button will be in red. And you can find that the pipeline failed because it did not pass the quality gate.


References
https://docs.gitlab.com/runner/register/
https://docs.gitlab.com/runner/executors/docker.html
https://docs.sonarqube.org/latest/setup/get-started-2-minutes/
https://docs.sonarqube.org/latest/analysis/scan/sonarscanner/
https://docs.sonarqube.org/latest/analysis/gitlab-integration/