Configuration for Jenkins and Gitlab
First and foremost, you have to configure the Jenkins CI and Gitlab to make sure they have permission to access each other. You can find the detailed guide to set them up properly from this website: https://docs.gitlab.com/ee/integration/jenkins.html#grant-jenkins-access-to-gitlab-project.
I used the webhook to notify Jenkins from Gitlab once any events are triggered. On the Jenkins, modify the project’s configuration and generate a random secret token.

Fill in the blank URL area with your Jenkins server address in the Gtilab webhook configuration and paste the secret token to the next line.
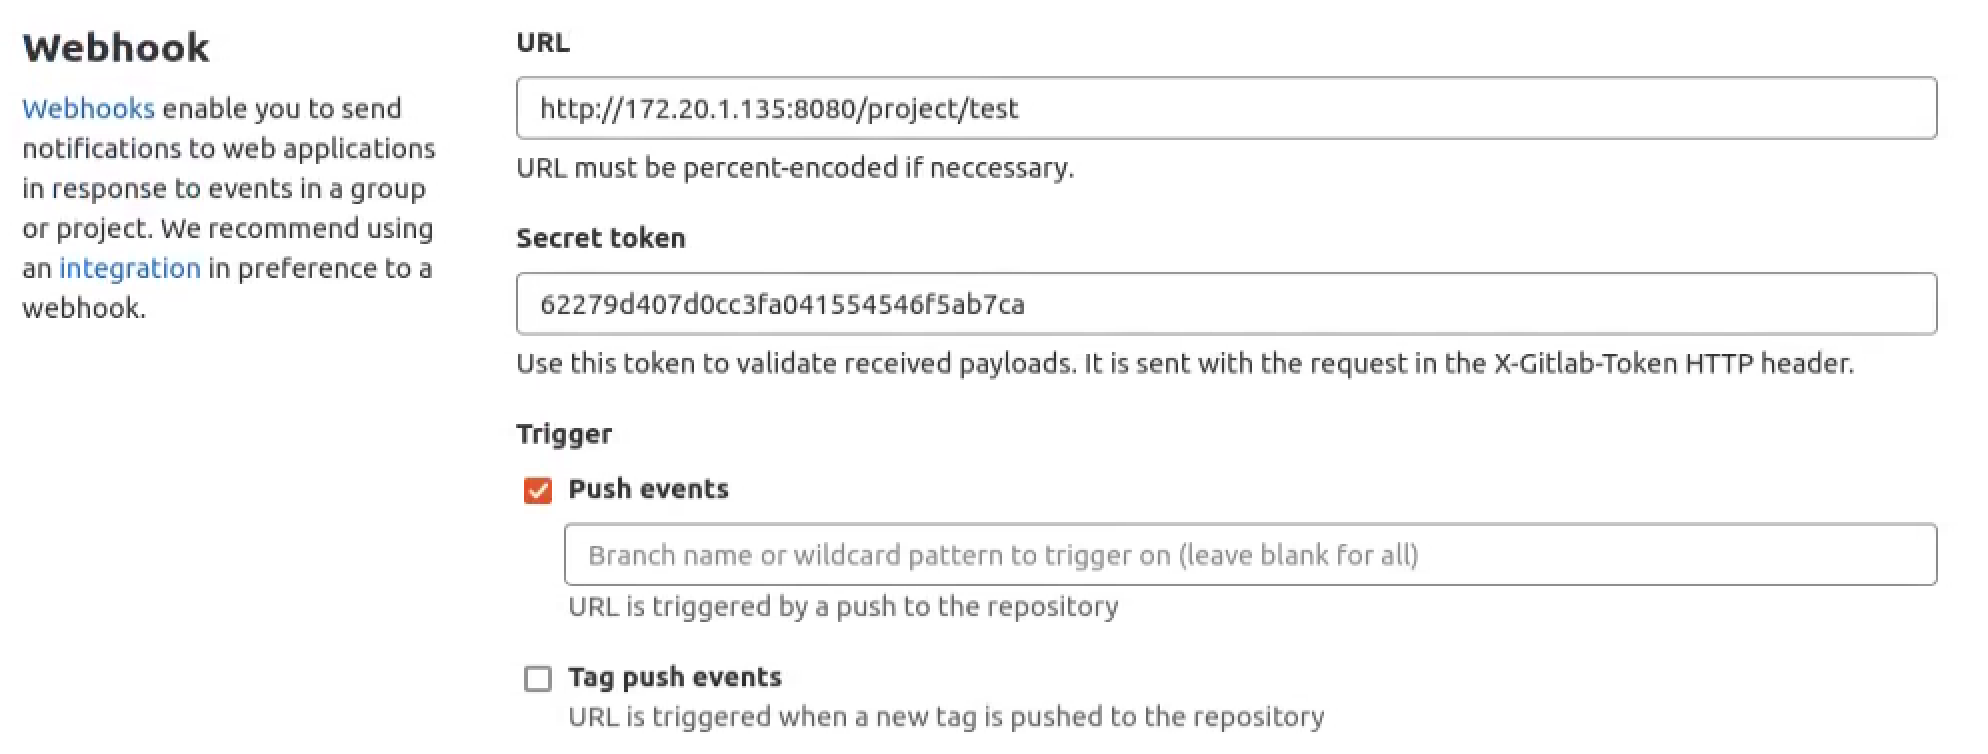
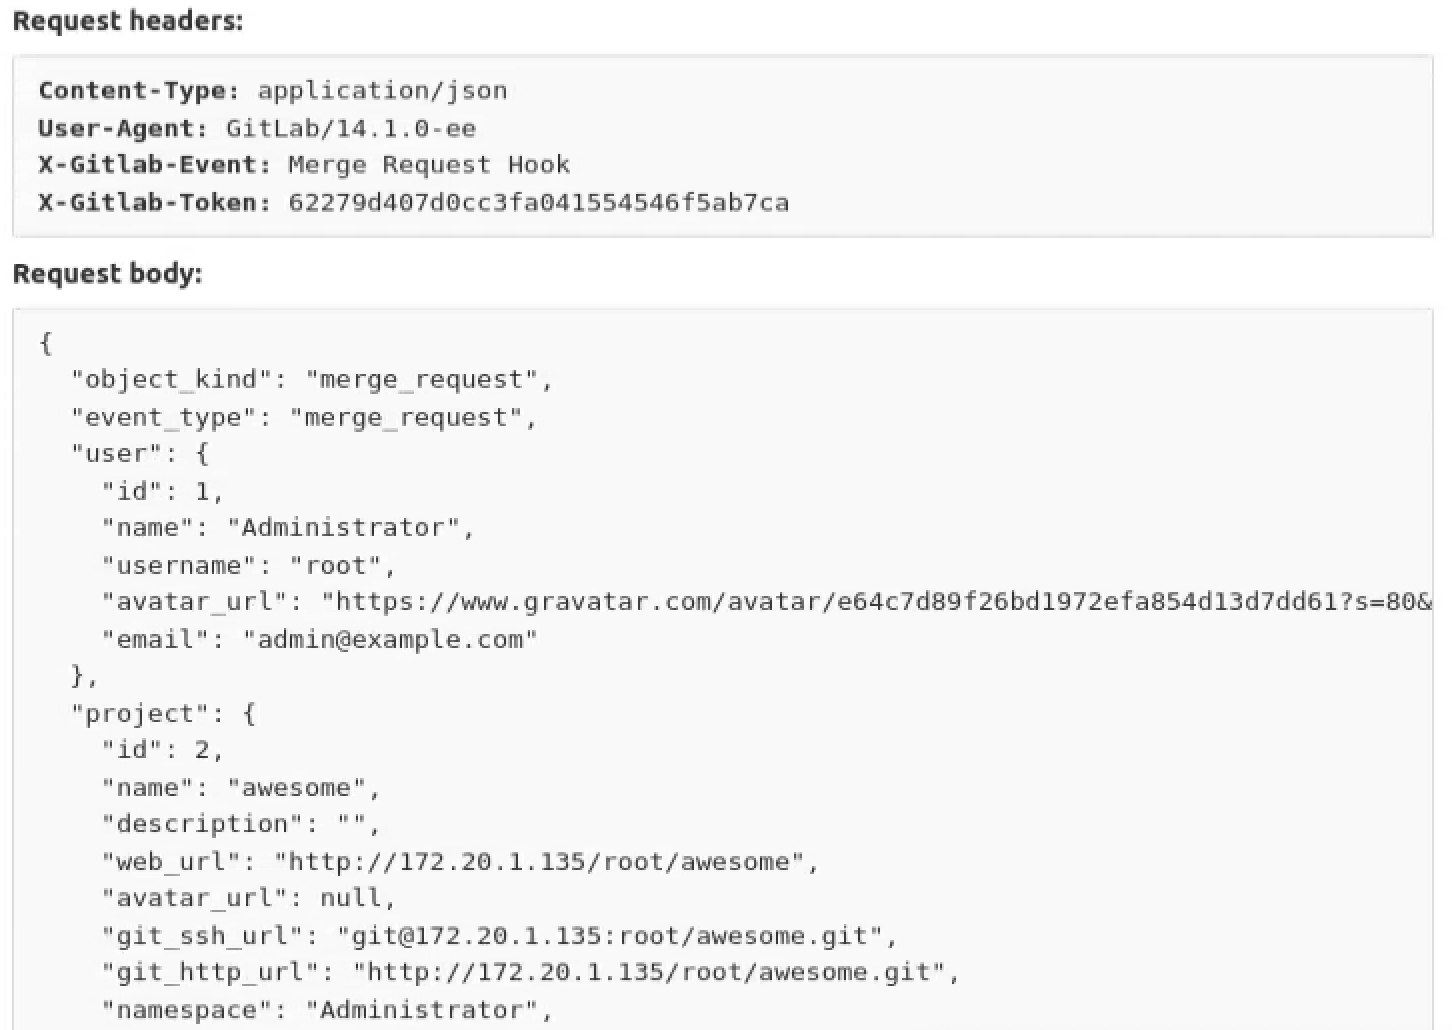
After you finish the configuration you can take a test to verify the functionality. If everything goes well, you can get the status code 200 from Gitlab.

You can even go through the request and response packet to see what happened if you will.
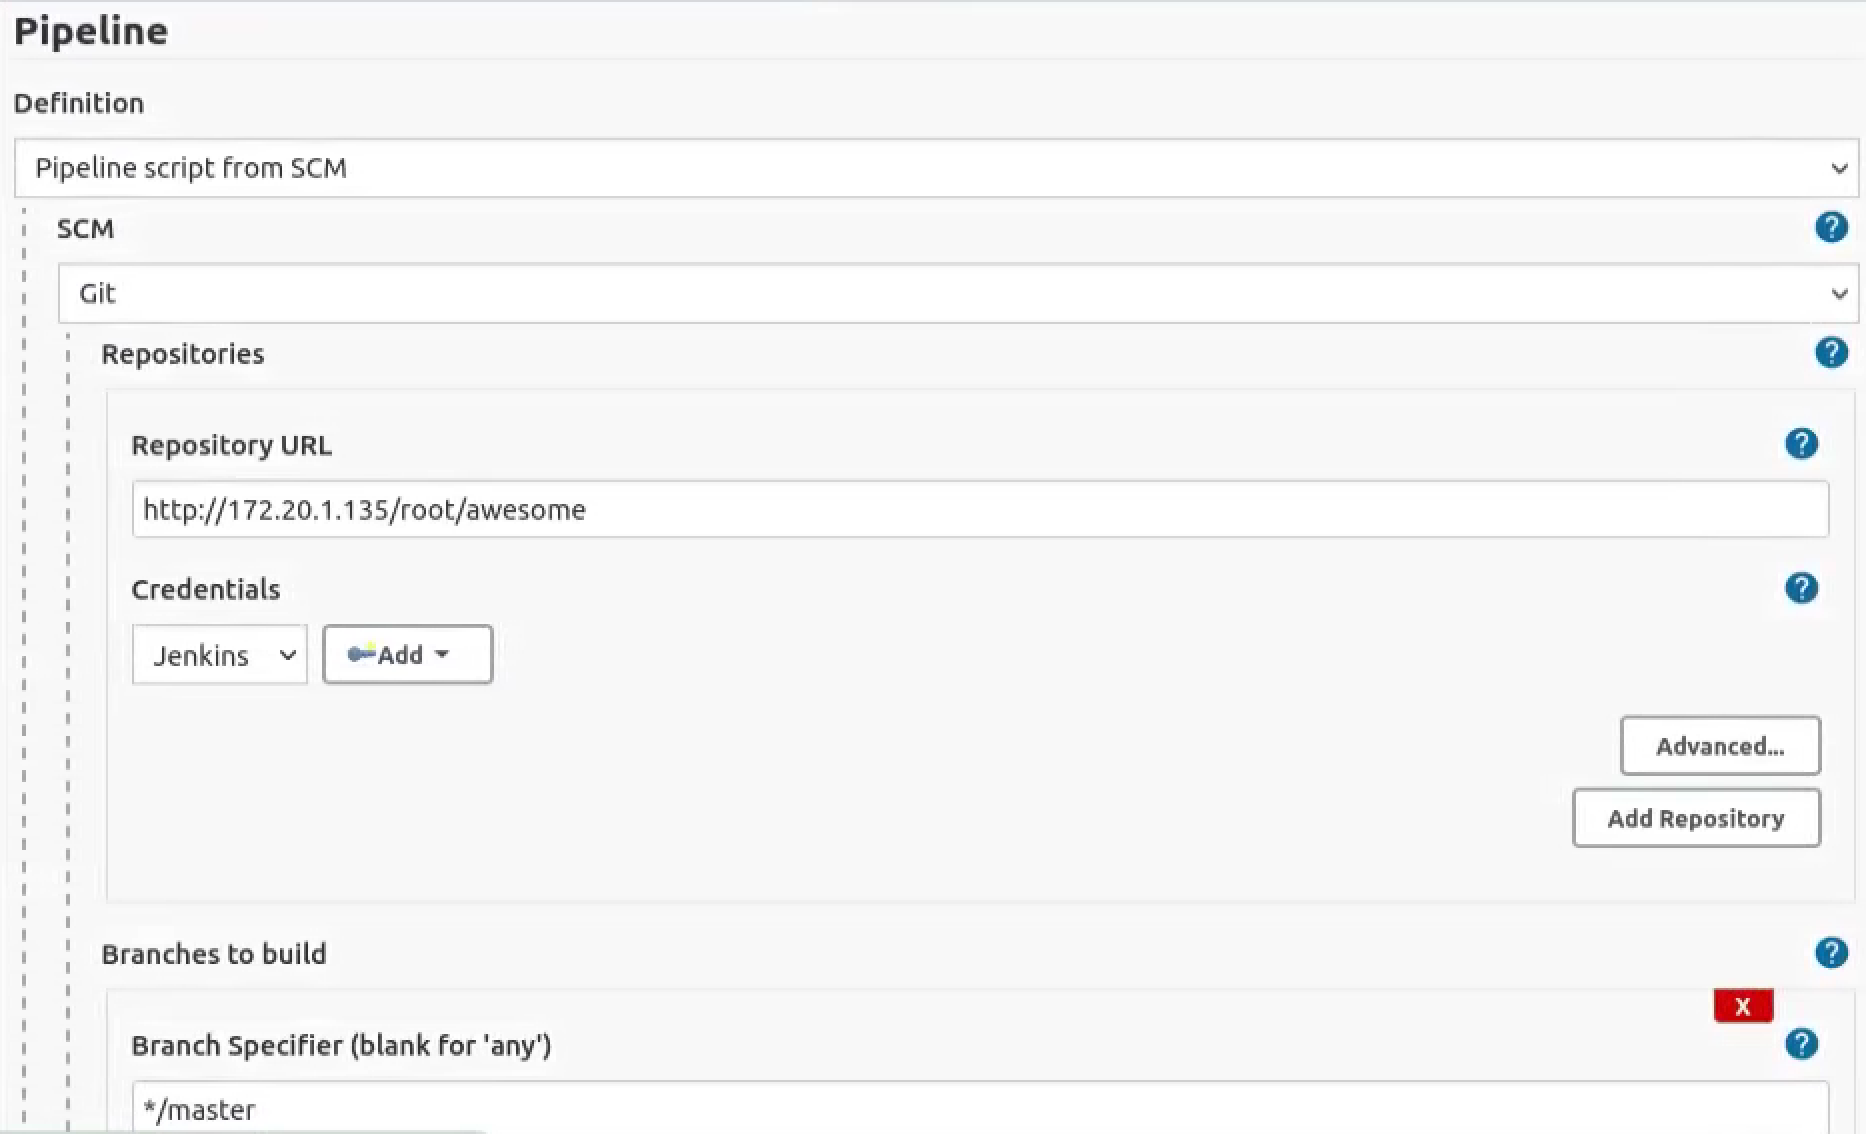
The Jenkins job we just created is a pipeline job, which allows us to define our build tasks through the groovy script. There are some additional work you should do to allow Jenkins to trigger the build job from the Jenkinsfile from your repository.
Tigger the Jenkins Pipeline
Create the Jenkinsfile file under the root directory of your repository, and add the build script:
1 | pipeline { |
The repository we’re gonna use is the same as we created previously in this post: https://recursively.review/2021/07/28/Sonar-Code-Qualitygate-Integration-with-CI-Part-1/.
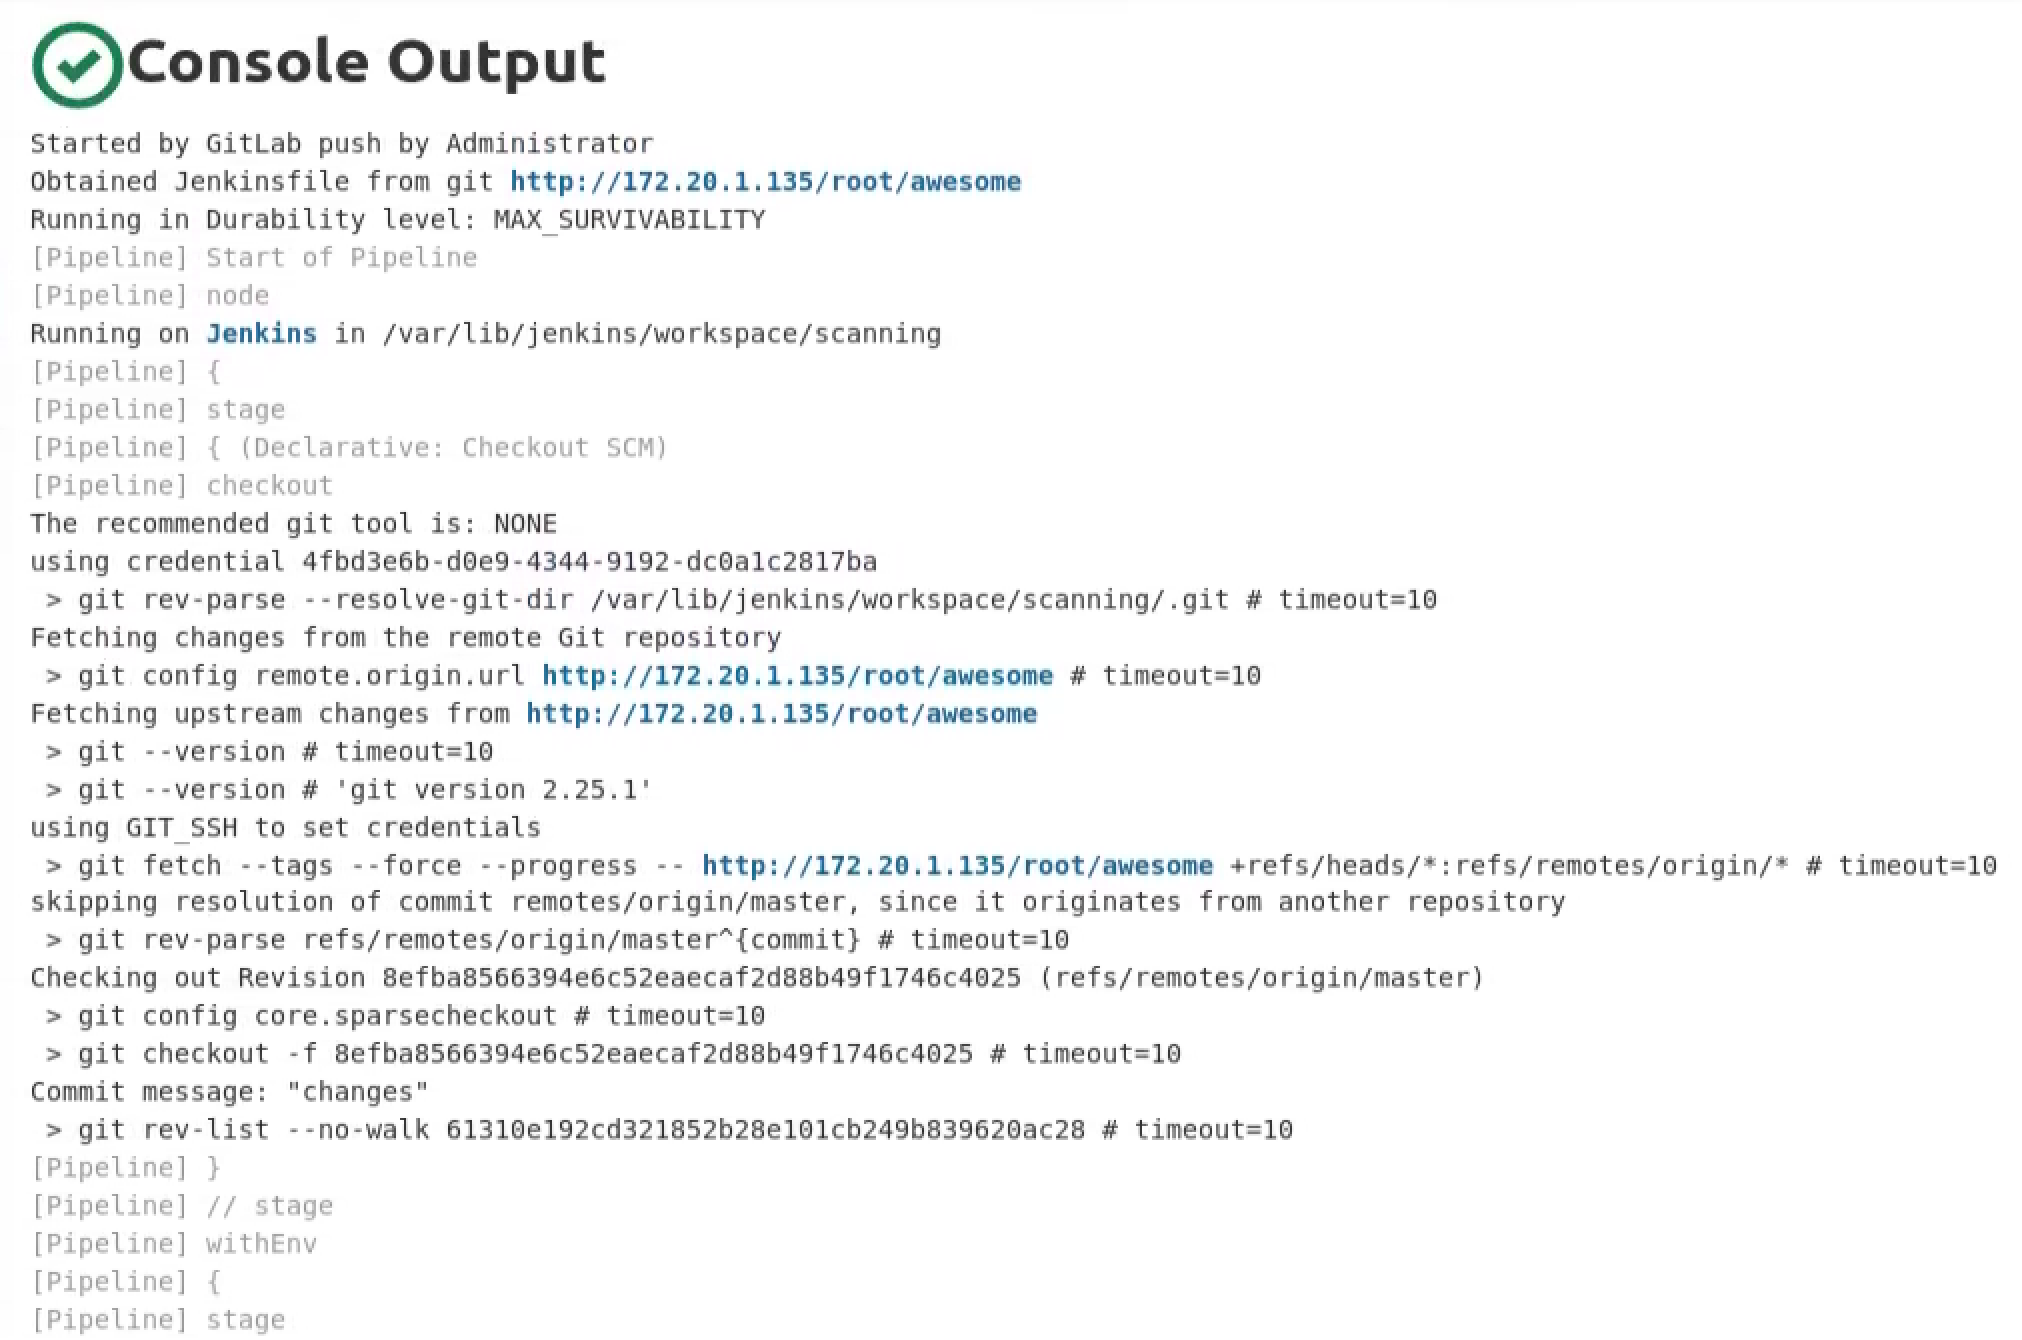
Commit your changes and push them to the remote repository to trigger the Jenkins pipeline. After a while, you can switch to Jenkins dashboard to check the build result.
Integrate the Code Scanning
Let’s first try using the cppcheck to perform the code scanning. This time we’re gonna use the cppcheck plugin in Jenkins directly for convenience. Just install the cppcheck plugin and we’re good to go.
1 | pipeline { |
Take a look at the Jenkins building dashboard to check the status.
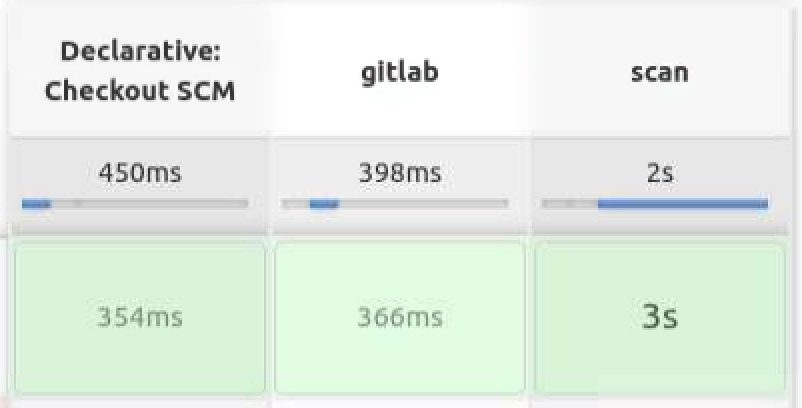
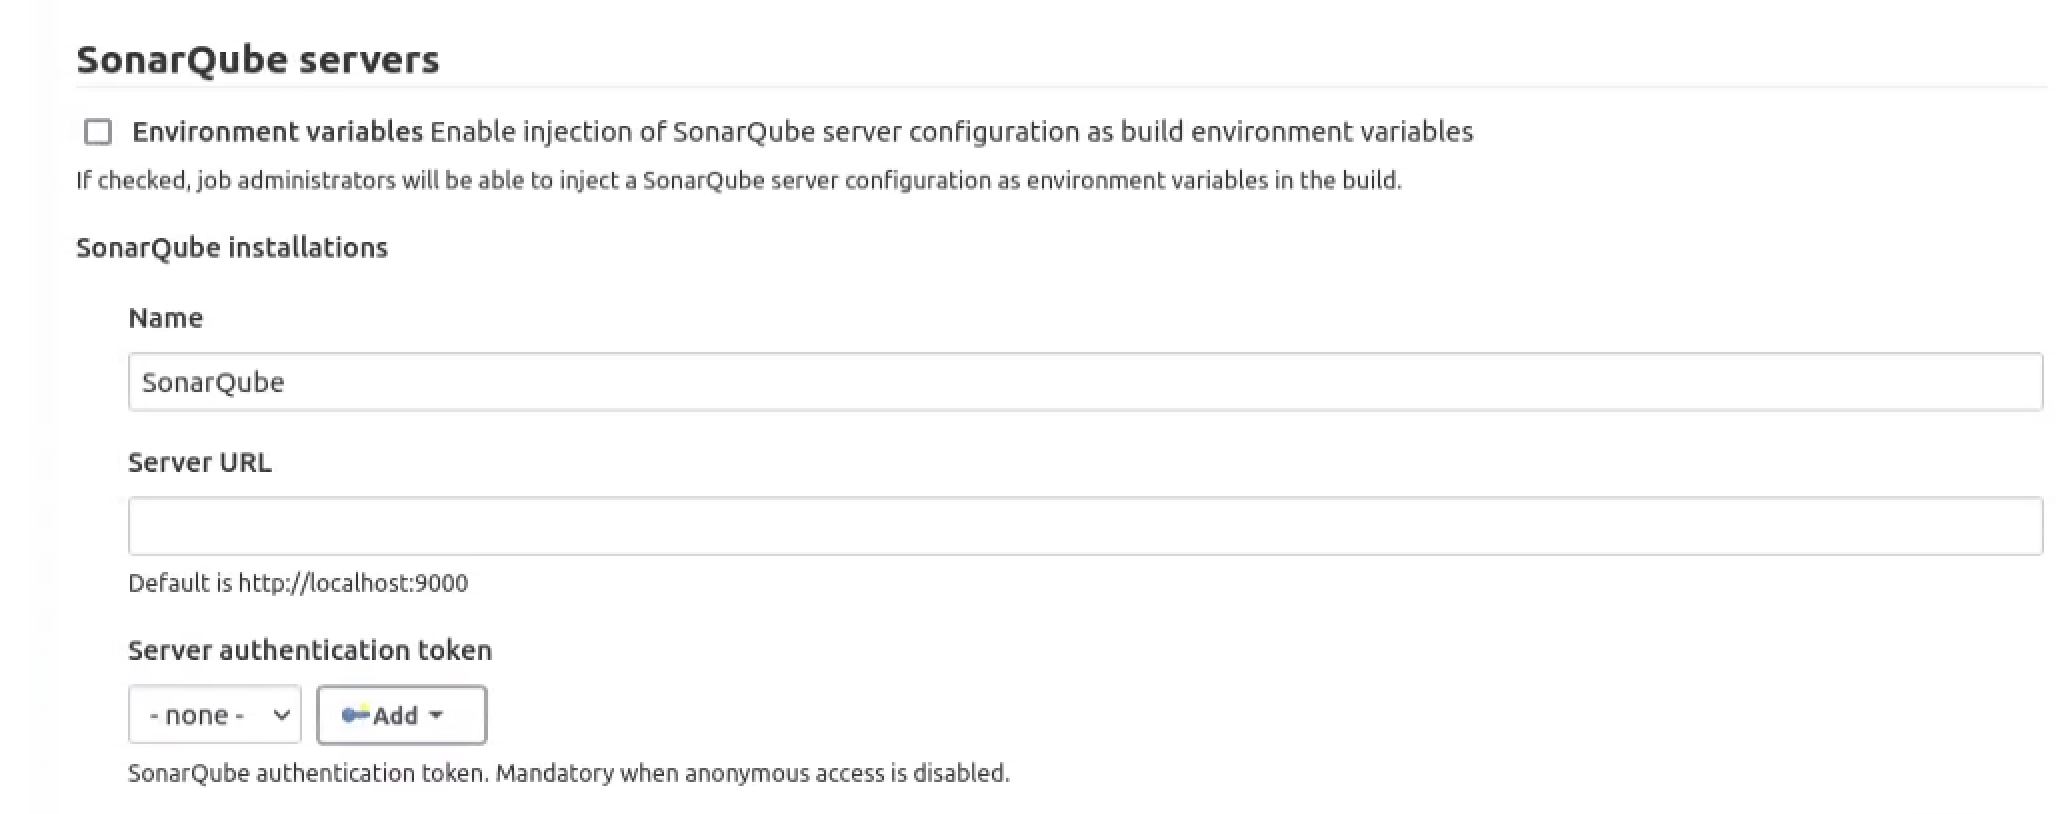
Now that we have scanned our project successfully with cppcheck, it will not be difficult to integrate the Sonarqube in order to establish our quality gate. Before that, we need to install the Sonar-scanner plugin in Jenkins. When the installation is finished, go to Manage Jenkins > Configure System and scroll down to the SonarQube servers section. Click the Add SonarQube button to add the new configuration.
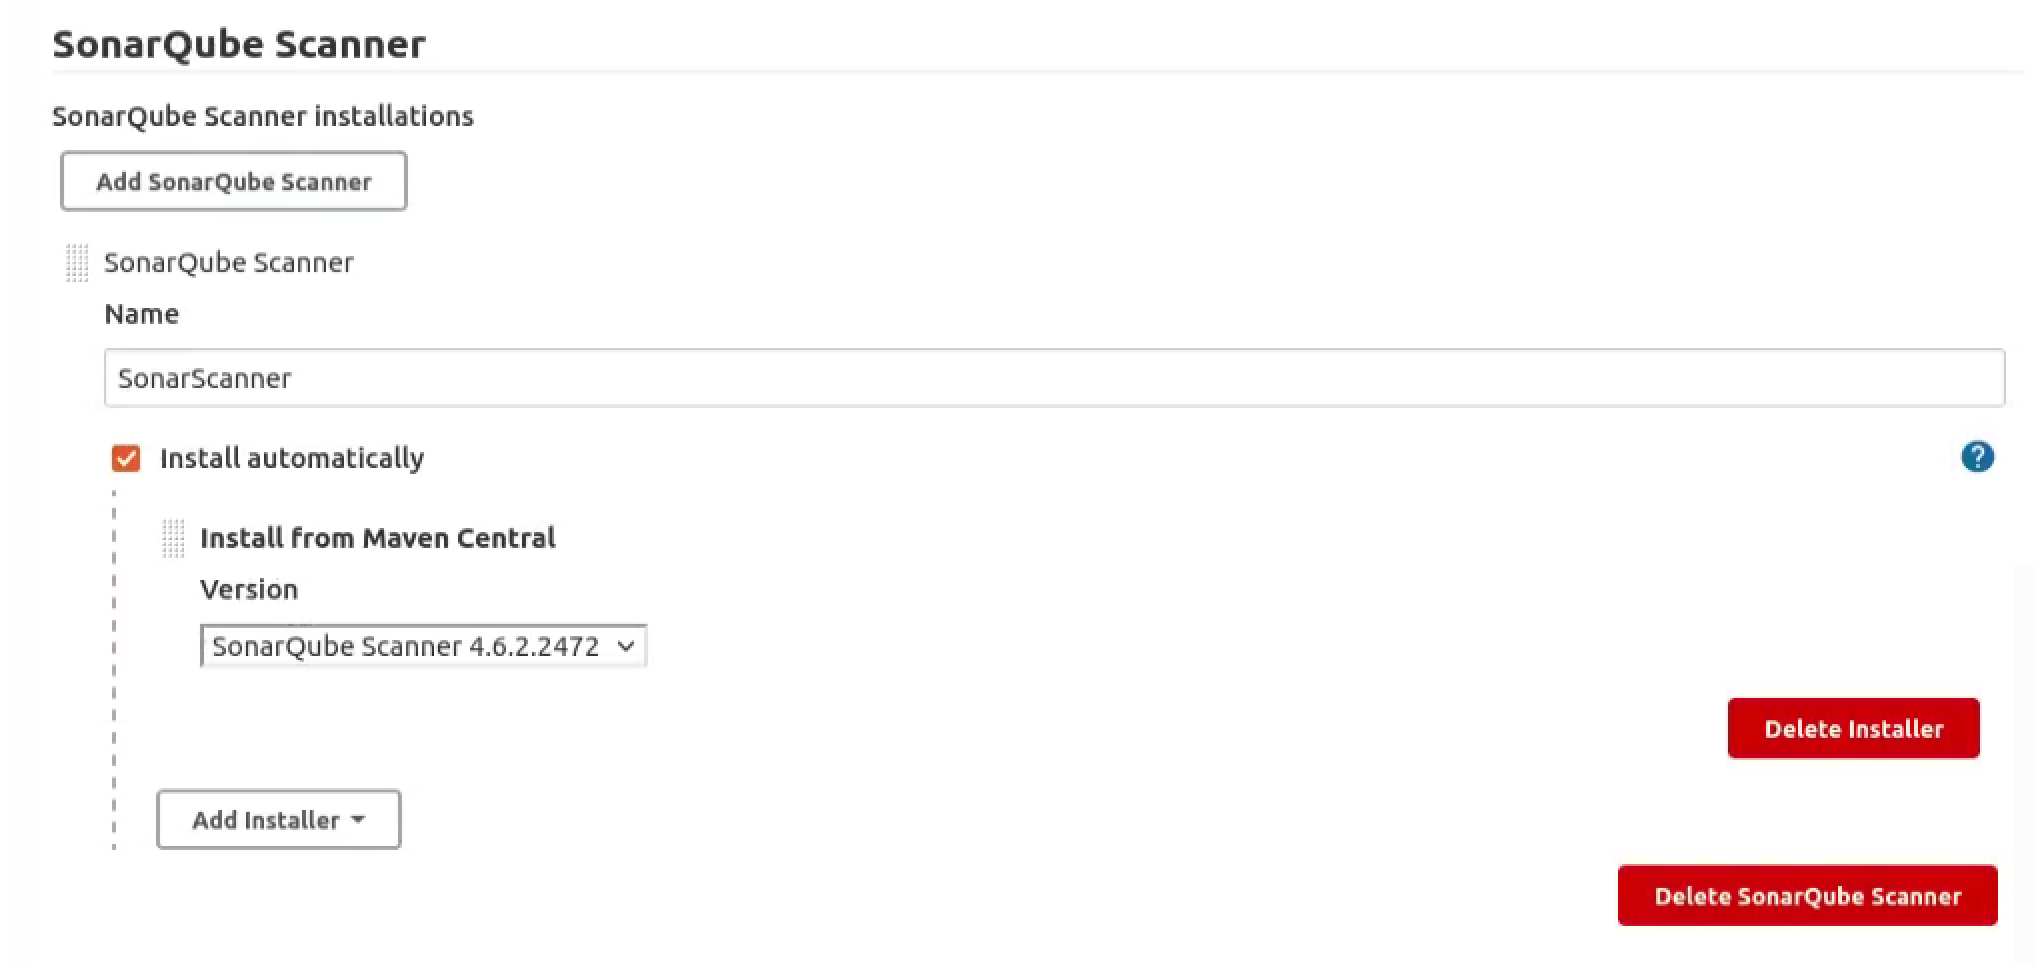
To use the Sonar-scanner command in the pipeline script, we have to firstly add a new Sonar-scanner tool in Jenkins.
Quality Gate Integration
It’s pretty easy to add the quality gate to our CI, let’s make some changes to the sonar configuration file sonar-project.properties:
1 | # must be unique in a given SonarQube instance |
For the Jenkinsfile:
1 | pipeline { |
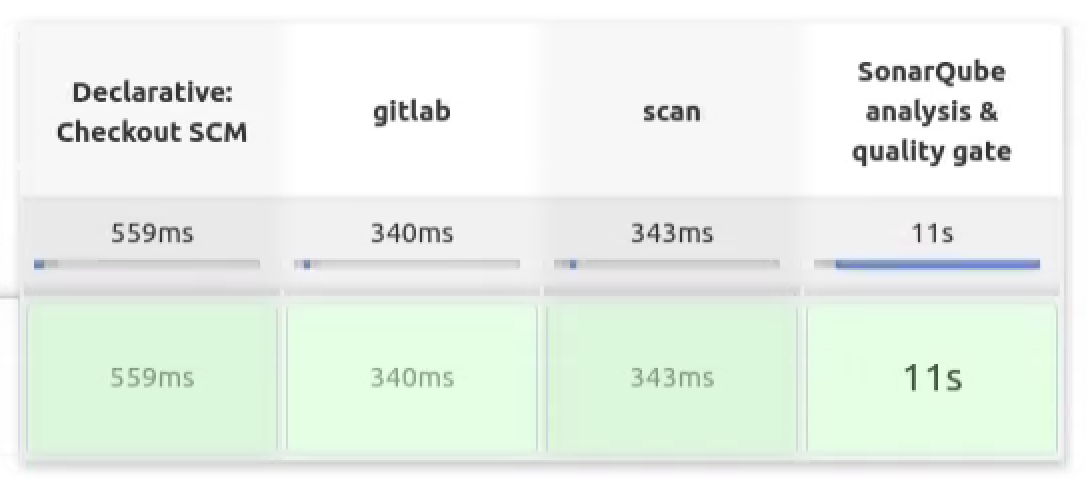
Now that we have finished setting up the configuration regardingly. If we push our changes to the remote repository the CI quality gate check process will take effect.
Merge Request Combination
Firstly make some changes to the Jenkins pipeline script in order to modify the merge request status during the pipeline progress.
1 | pipeline { |
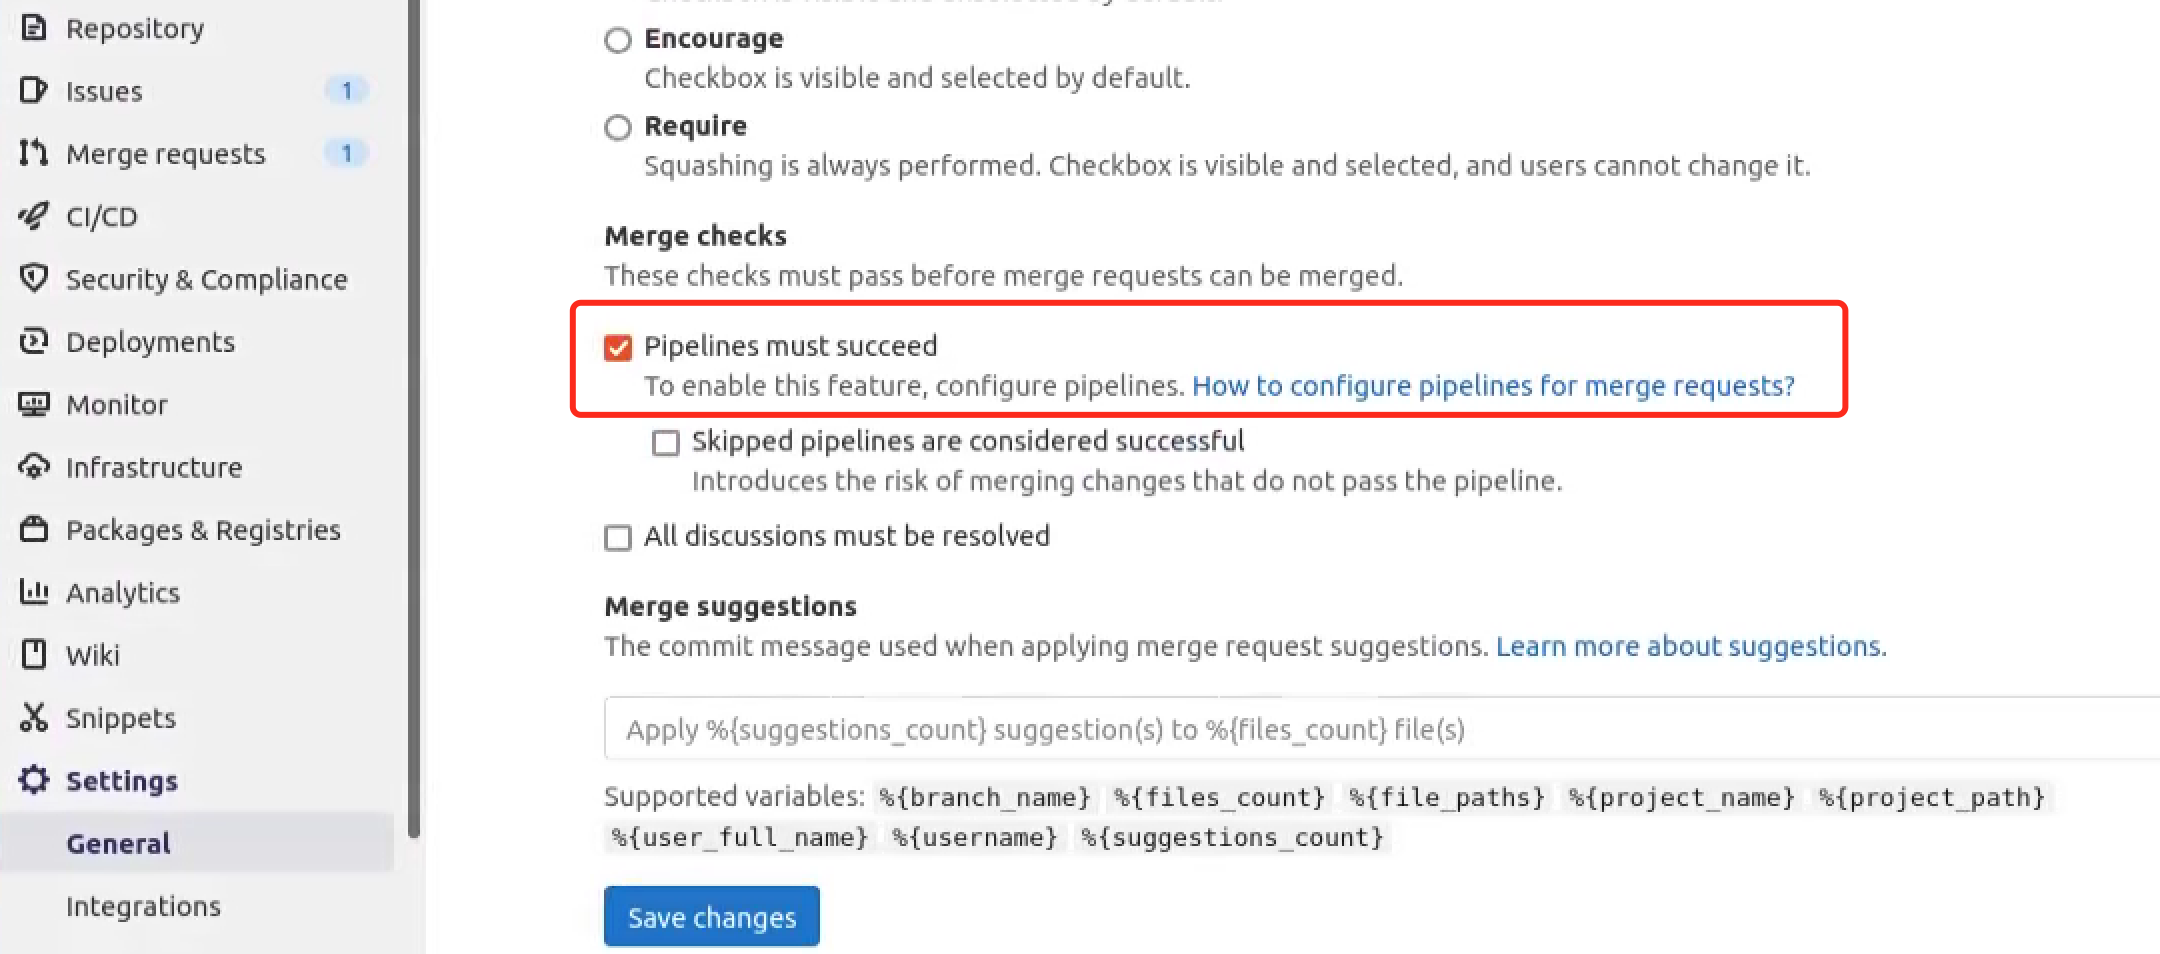
To check the merge request scanning status, we need to enable the option below in the Gitlab:
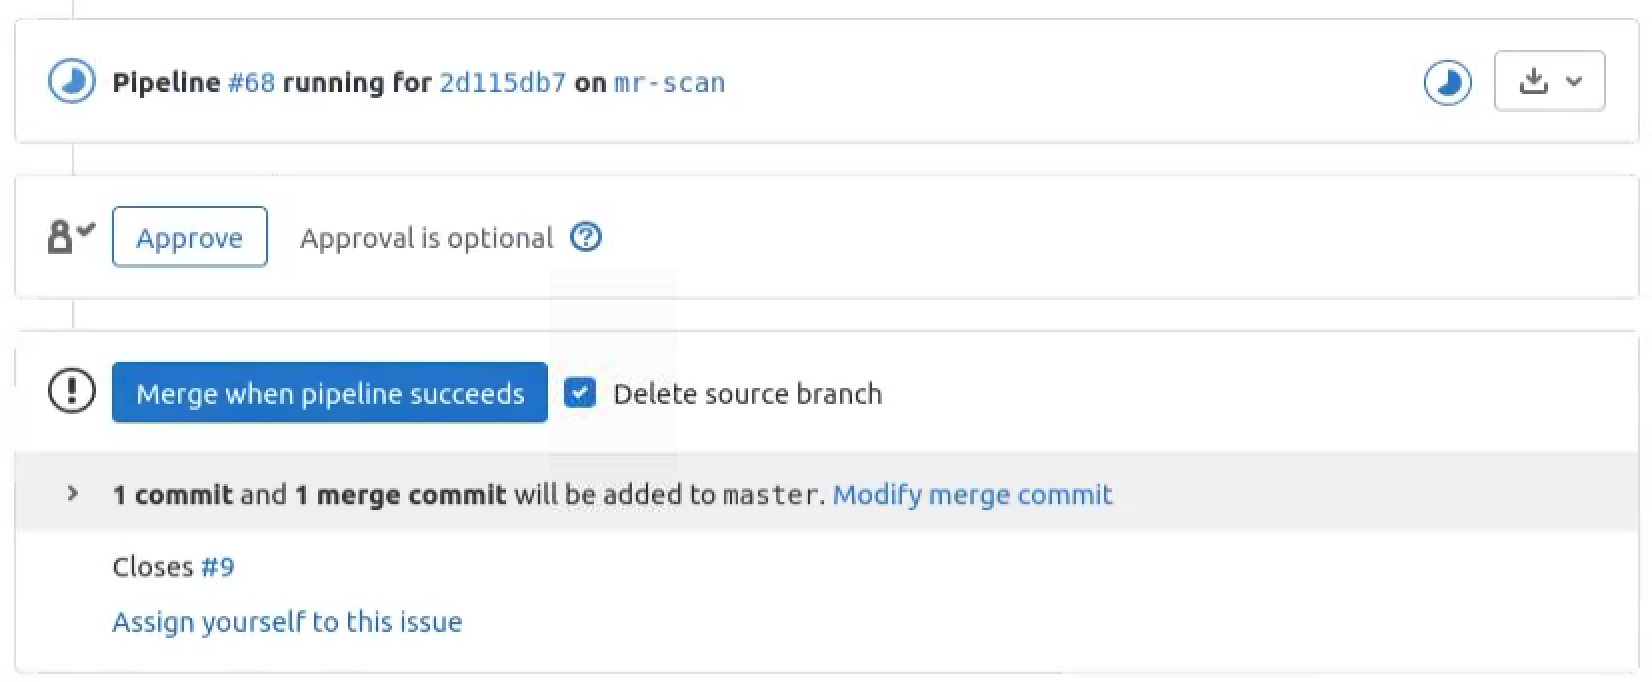
If the merge request was triggered, the merge request status will be limited unless the CI pipeline succeeds a moment later.
References
https://docs.gitlab.com/ee/integration/jenkins.html#grant-jenkins-access-to-gitlab-project